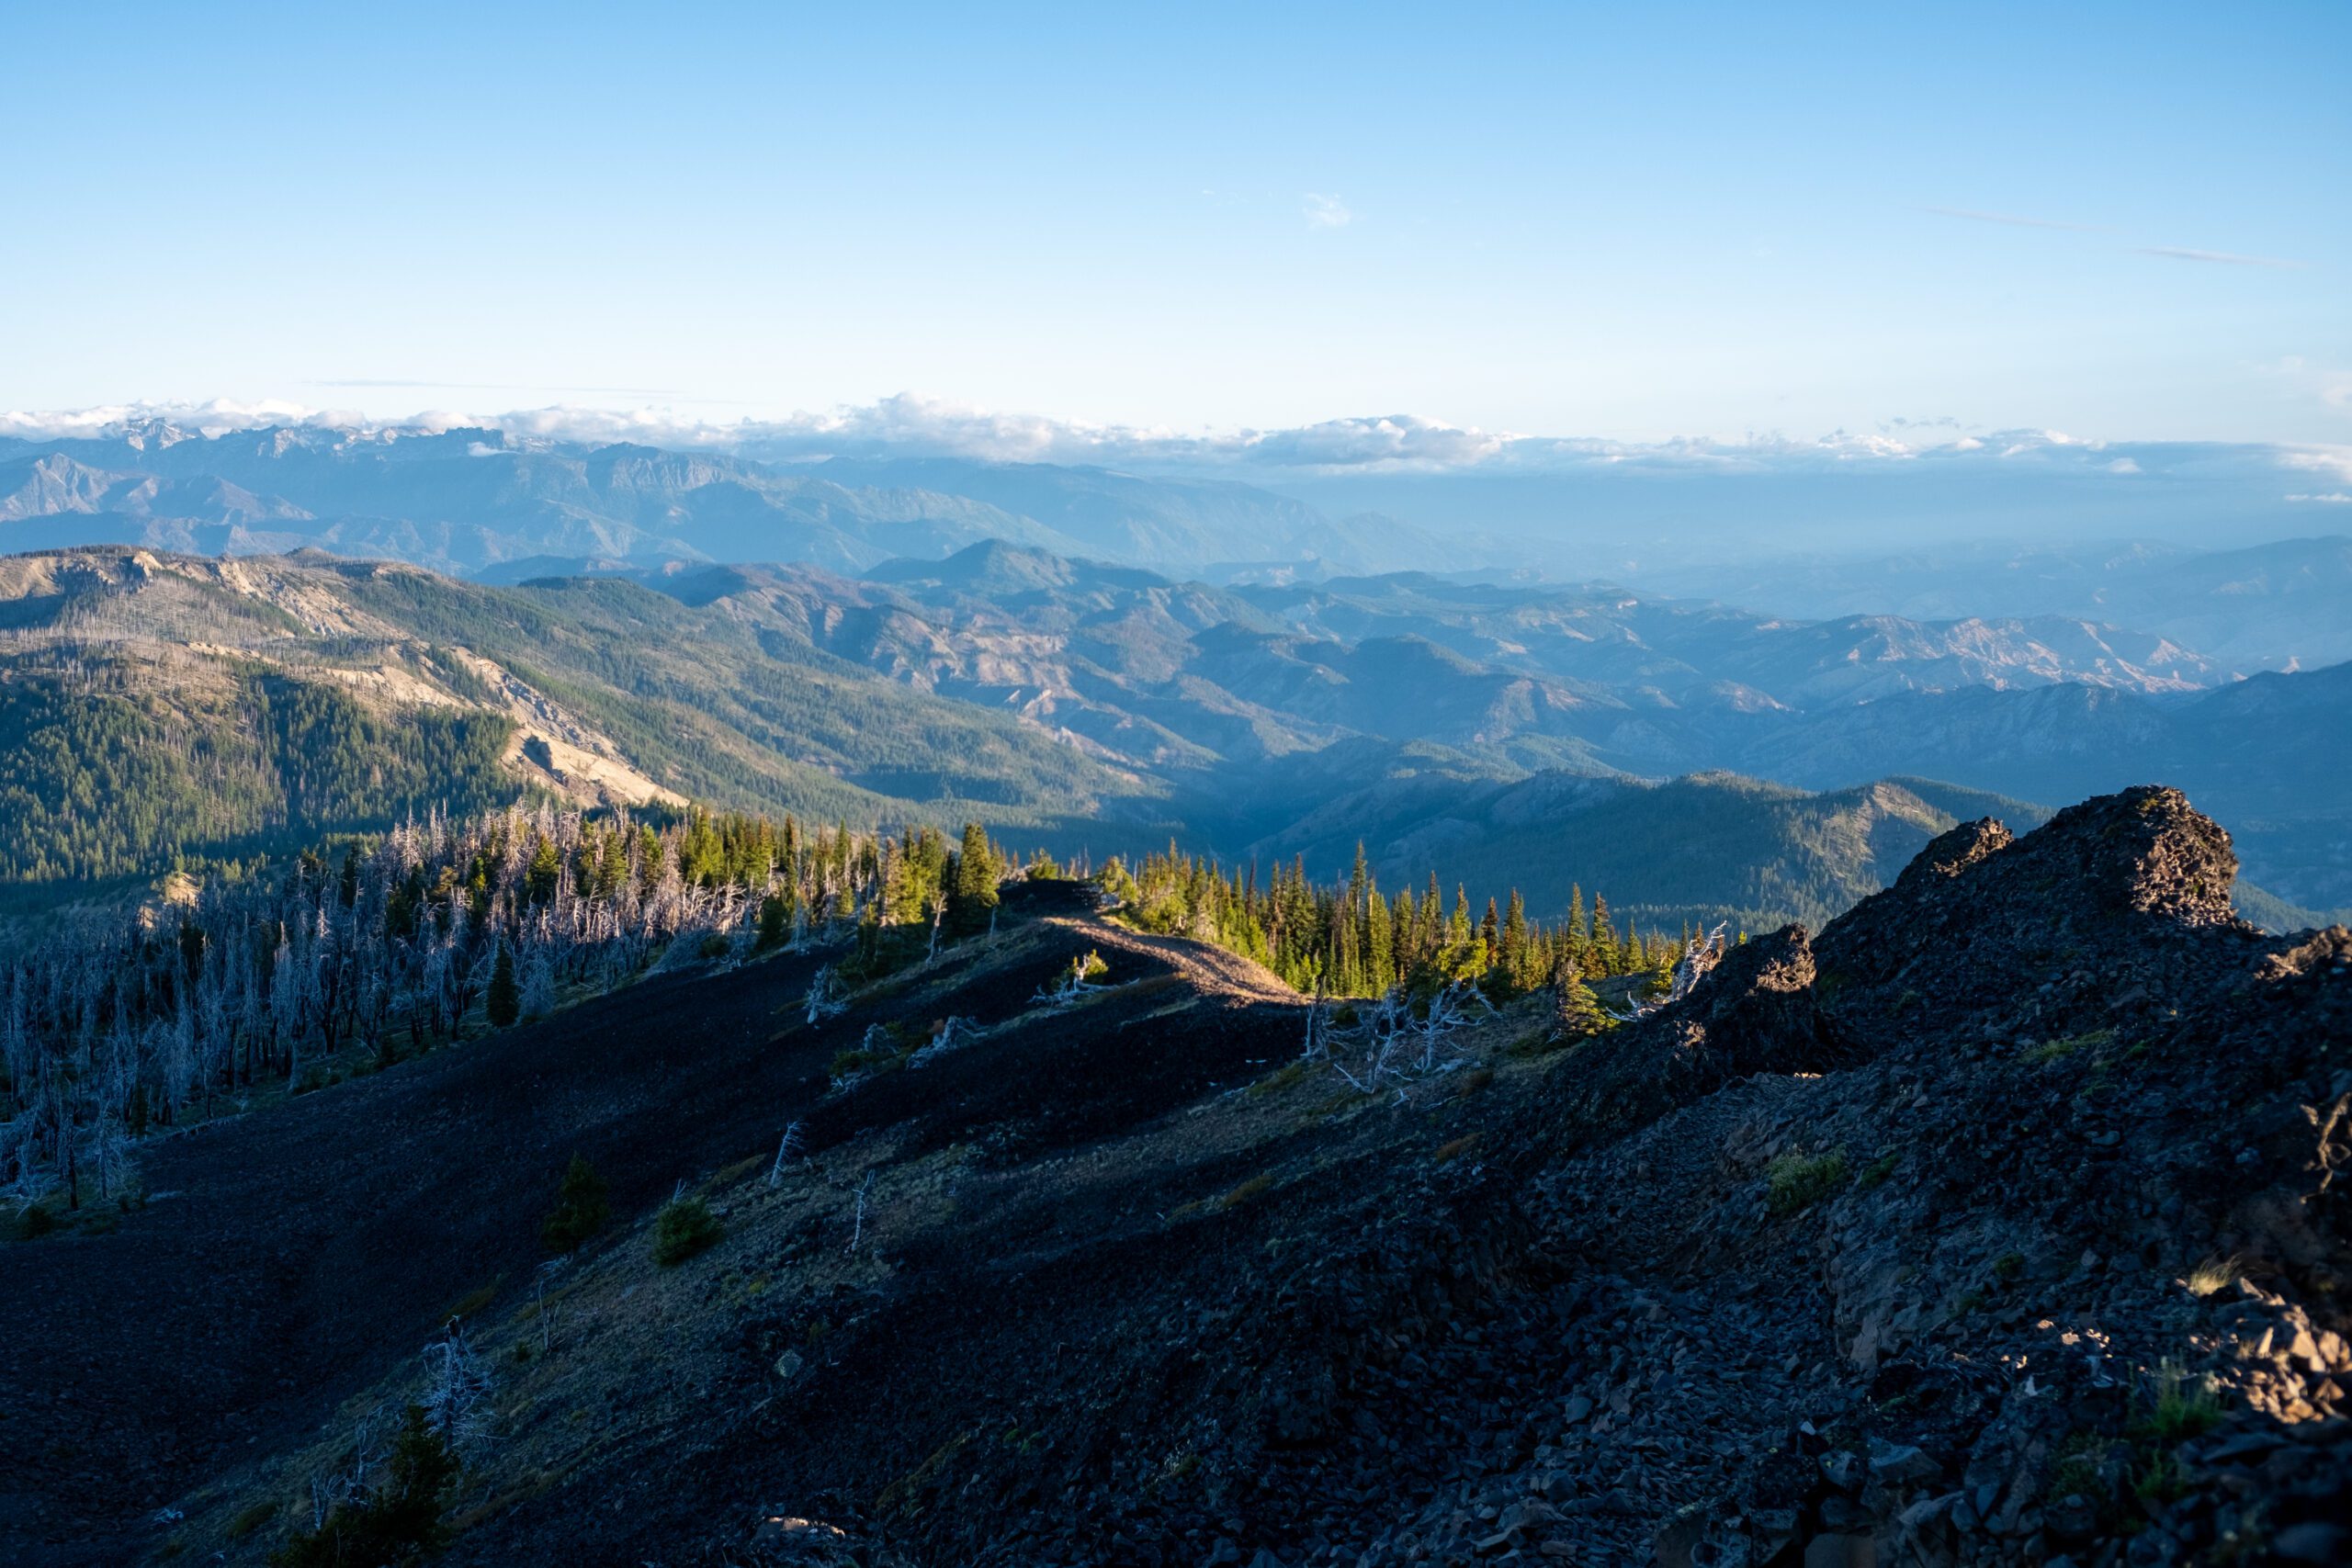
All distances will start with a climb up through the forest from the base area of the Mission Ridge Ski & Board Resort. At the first break in the grade, the Half Marathon course will begin a fun descent down to meet the Mission Creek Trail and head back to the finish line at the ski area. The 50-Mile and 100-Mile runners will continue climbing up towards Mission Peak. After a quick summit of Mission Peak, you’ll head back down the way you came and off towards Mt. Lillian along Tronson Ridge. Here is where the views and the geology are the most magnificent!
The 100-Mile and 50-Mile courses begin to diverge at the Mt Lillian Aid Station. The 50-Mile will continue down Tronson Ridge, while the 100-Milers will descend towards Blewett Pass for a technical 8-mile lollipop in an old burn. It will feel extremely remote and technical but also features beautiful meadows and wildflowers. The loop will bring you back to the Mt Lillian Aid Station, where the 100-Mile course rejoins the 50-Mile on Tronson Ridge. After the Tronson Aid Station, both distances climb up and over Red Hill before descending rolling trails to the Sand Creek Aid Station. The course then brings you over 5 miles of undulating terrain to the Mission Creek Aid Station (water only for 50M (mile 37) & 100M (mile 47), full aid for 100M at mile 88)
From Mission Creek Aid Station, the 50-Mile and 100-Mile part ways. The 50-Mile begins the smooth but steady climb (complete with many creek crossings to cool off and enjoy) back to the Mission Ridge base area. While the 100-Mile runners head over into Number 2 Canyon. At Number 2 Canyon Aid, 100-Mile runners can join their pacers for the first time, yay! You’ll then climb up a beautifully graded single track to the summit of Horse Lake Mountain. If you’re keeping a 17-20min/mile pace, you just might catch the beautiful sunset over the Enchantment Plateau at the summit! You’ll then enjoy a lovely, flowing ridgeline descent back to the Number 2 Canyon Aid Station.
With this lollipop completed, the course returns to Peavine Canyon, where you’ll climb back up and over towards the Devil’s Spur Aid Station. After cresting the ridge, a dusty, switch backing decent provides some nice rock hoodoo views before another grueling climb brings you to the Devil’s Spur Aid Station. From the aid station you’ll begin an incredible fast, flowing decent down Devil’s Gulch and back to the Mission Creek Aid Station. Prepare to get wet feet as you will cross Mission Creek multiple times. After waving goodbye to the aid station, the course begins the final climb back up the Peavine Trail. This is the only section of trail you will repeat on the course, so if you missed the Hoodoos in the dark, you’ll get another shot for some cool geology. After finishing the climb and passing by the Devil’s Spur Aid Station again, you’ll enjoy some flat and descending trails back to Mission Ridge and some well-earned post-race food and beverages!
This is not a course to underestimate! While the views are spectacular and the geology fascinating, be prepared for long, steep climbs and descents on technical and rocky trails. There are also some very pleasant portions of this course like the nicely graded climb up the Mission Creek trail.
Course notes
Please note that distances and elevations noted below and on maps below are approximate and are derived from online mapping programs. Your recorded distance and elevation gain on race day may vary.